
A still photo can carry a lot of information, but it rarely creates momentum by itself. Image to video AI adds motion, camera movement, atmosphere, and pacing to an asset you already have.
That makes it useful for product photos, portraits, thumbnails, real estate images, historical visuals, album art, and social posts. The catch: animation can also ruin a good image if the motion is random. The goal is not movement for its own sake. The goal is directed motion that makes the original image more useful.
Start with the viewer problem, not the AI tool
The lazy version is dropping any photo into the model and accepting whatever motion it invents. That usually gives you a drifting camera, a subtly warped subject, and an animation that adds nothing the still did not already say.
The useful version starts with what the viewer needs to see in the image. Are they judging a product's texture, reading a label, picturing themselves in a room, or feeling the atmosphere of a place? Once that is clear, you can decide which part of the photo should move, which part must stay locked, and what the camera should do to make that one thing land.
Write the brief before you generate
Before you animate a photo, write down what the source image is and what you want the motion to accomplish. Image-to-video models fill silence with random drift, so the parts you do not specify are the parts that go wrong.
- Source: what is in the frame, and which element is the real subject the viewer should notice?
- Motion: what should move, what is the camera doing, and how fast or subtle should it be?
- Lock: which faces, labels, logos, or product shapes must stay pixel-faithful to the original?
- Output: how long, what aspect ratio, and where does this animated clip get used?
Make the first frame earn attention
The first frame of an animated photo is doing two jobs at once: it has to read as the original image and it has to promise that something is about to happen. If the motion does not start until second three, the clip looks like a frozen JPEG that buffered. If it starts with a glitch, the viewer assumes the whole thing is fake.
A usable image-to-video prompt should declare the motion in the opening beat and keep the subject stable while it happens. Avoid open-ended instructions like "make it dynamic" or "cinematic motion" unless you want the camera to wander and the subject to morph.
Animate this photo so motion is visible within the first 0.5 seconds: a slow, steady camera push toward the subject. Keep faces, edges, and the product label perfectly stable. No sudden zoom, no warping, no added objects.Plan the motion path before you generate
Planning the camera path keeps the model from drifting. A single image clip is short, so decide in advance where the camera starts, where it ends, and what in the frame is allowed to move. This is where most beginners skip the work and then blame the model for warping the subject.
For one animated photo, one clean motion is usually enough: a slow push-in, a gentle parallax across depth, a subtle environmental movement like steam or hair, or a controlled reveal. If you need a sequence, animate the same image as separate short clips and cut between them rather than asking one render to do everything.
Trim the animation, do not pad it
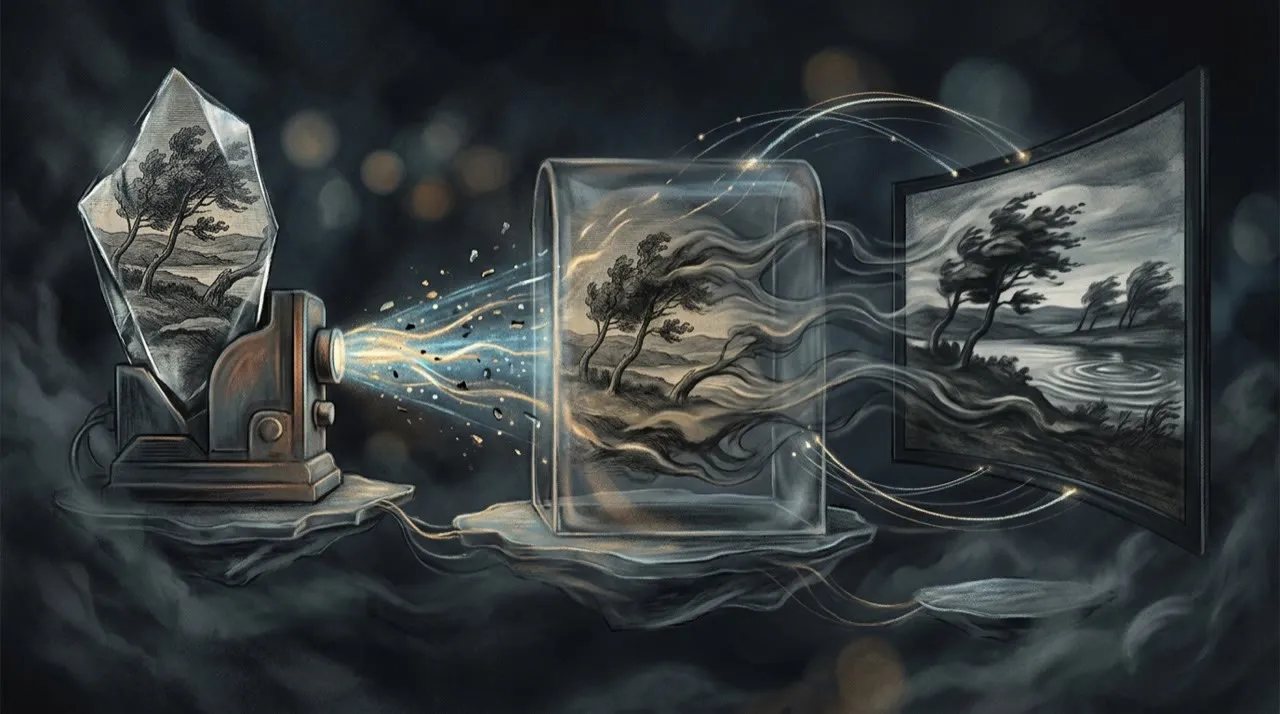
A clean animated photo still fails if it loops too long or drags out the motion. Most still-image clips earn their value in the first two or three seconds; after that the model starts inventing detail that was never in the photo. Cut the moment the motion has paid off and the subject is still intact.
The cleanest sanity test is simple: play the clip at full speed, then scrub it frame by frame. If a face stretches, a label smears, or an edge ripples at any frame, the render is not usable no matter how nice it looks at speed.
Generate variants, not one render
One render of an image is not a finished clip. Image-to-video models are non-deterministic, so the same photo and prompt produce different motion each time. Generate several takes, then change one variable at a time: camera direction, motion speed, what stays locked, and clip length. Keep the take where the subject stayed faithful and the motion felt intentional.
The advantage of animating a photo with AI is how cheap a second attempt is. Use that to find the one take that respects the original image, not to publish the first render before you have checked it for warping.
What images work best
Image-to-video AI works best when the source image is clear, high-resolution, and compositionally simple. A messy image with small faces, busy backgrounds, text, and ambiguous objects gives the model too many ways to fail.
Use sharp subjects, clean edges, visible limbs if people are present, and a composition that already suggests motion. If the original image is weak, the animation usually amplifies the weakness.
Prompt motion, not vibes
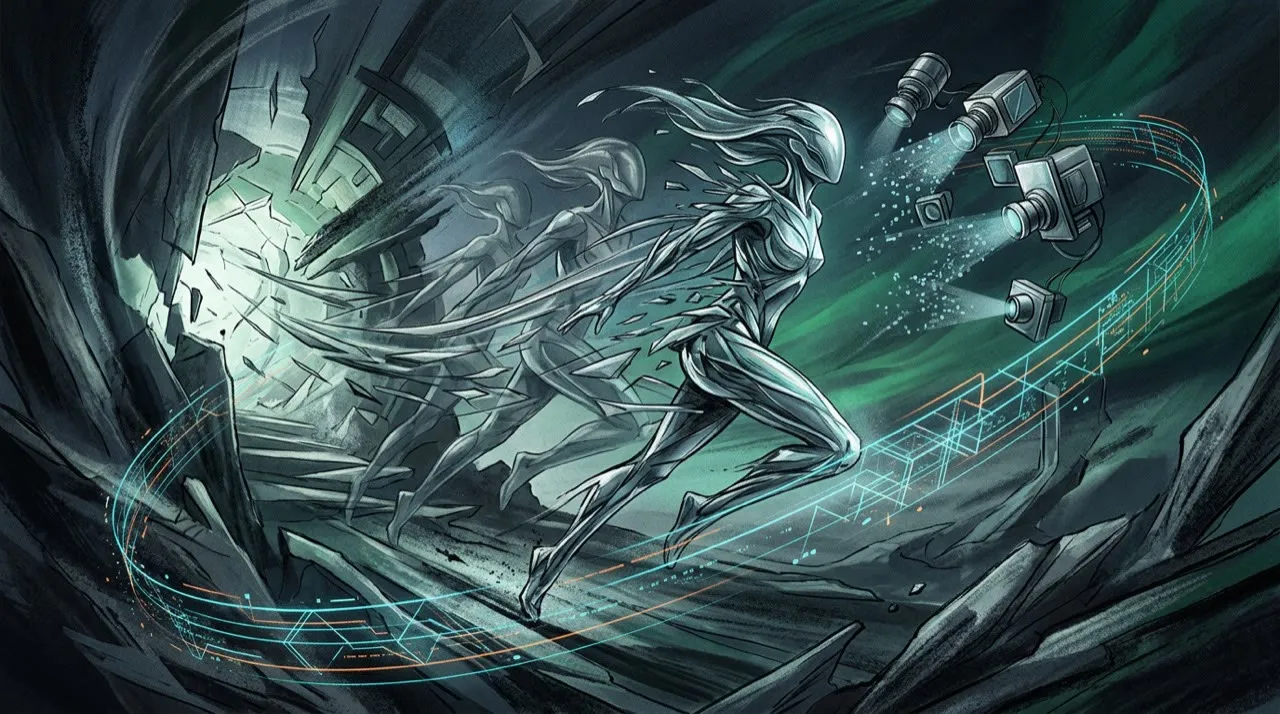
Animate this product photo into a 6-second vertical video. Camera slowly pushes in. Steam rises gently. Background remains stable. Product label stays sharp and readable. Realistic lighting. No extra hands, no text, no logo changes.A practical image to video AI workflow
Start with one photo, not a folder. Pick the single image where motion would actually add something, and animate that one well before you batch the rest.
Write down the subject, the motion you want, and what must stay locked. Then generate a few takes from that one prompt, scrub each for warping, and keep the cleanest one. Trim it to the moment the motion pays off, then try one alternate motion path before you commit. Use the winner, and re-render with a more conservative prompt if any detail slipped.
The order that keeps a still safe:
- Choose the image
- Find the subject
- Decide the motion
- List what stays locked
- Prompt
- Generate takes
- Check for warping
- Trim
- Try one alternate
- Re-render the winner
Most people fail because they animate the first image they have instead of choosing the right one and directing the motion. That feels faster, but a weak source photo and random movement produce weaker work.
The pre-publish quality bar
Before publishing an animated photo, check the clip against five questions:
- Did the subject stay intact, with no warped faces, melting edges, or extra limbs and fingers?
- Does the product label, logo, or person's likeness still look exactly like the original?
- Is the motion directed and purposeful, or is the camera and background drifting at random?
- Does the animation actually clarify the image rather than just adding movement for its own sake?
- Is it honest about the original photo, with no AI motion that implies something the still never showed?
A clip that fails any of those questions is not worth shipping just because the model returned a result. Hold it against the still it came from first: if the motion warps the subject or implies something the photo never showed, the render finishing is not permission to publish it.
Common mistakes
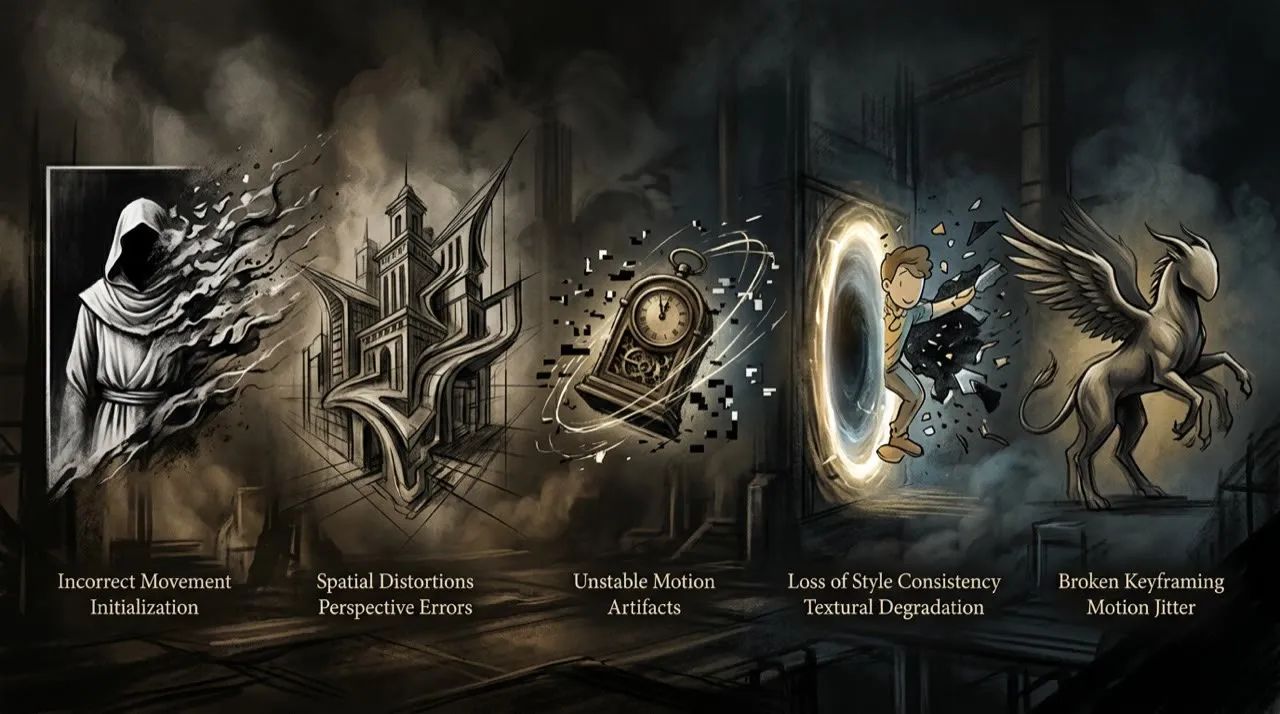
The common failure is not animating photos. It is animating the wrong photo, or asking it to move in ways it cannot survive.
Mistake one: starting from a weak source image. Small faces, busy backgrounds, low resolution, and text-heavy frames give the model too many places to hallucinate, and the motion only amplifies the flaws.
Mistake two: accepting the first render instead of generating several takes and keeping the one where the subject stayed faithful.
Mistake three: prompting for big, fast motion on a detailed subject. A hard zoom or sweeping camera is what melts faces, warps logos, and bends product shapes; conservative motion protects likeness.
Mistake four: using one animated clip everywhere. A square push-in for a product page, a vertical parallax for Reels, and a slow reveal for an ad each need different framing, length, and motion intensity.
Mistake five: skipping the frame-by-frame check. The last pass should confirm no warped faces, no melting edges, no extra fingers, and that any label, logo, or likeness still matches the original photo exactly.
A stronger next step
Pick one strong photo you already own: a clean product shot, a sharp portrait, a wide real estate image, a well-lit food photo, or a high-resolution travel scene. Decide on one motion for it and name what must stay locked. Do not animate ten images at once. Start from your single best frame.
That keeps the model grounded in a good source and makes the first animated clip usable immediately.
When a photo should stay still
Not every image deserves animation. If the value is in a precise product detail, legal document, medical diagram, or real person’s likeness, unnecessary motion can reduce trust. Use image to video AI when motion clarifies the story: steam rising from food, a camera push into a product, a subtle parallax on a travel photo, or a before/after reveal.
Write the motion like a director, not like a poet. Specify what moves, what stays still, camera direction, speed, and mood. If the subject’s face, logo, or product shape matters, keep the movement conservative.
Where Vivideo fits in animating photos
When you are turning a photo into video, an image to video generator like Vivideo gives you three ways in: an agentic AI chat that can plan the motion and build the clip from your image, one-prompt generation for quick animation drafts, and manual mode when you need to control exactly what moves and what stays still. From there you can layer AI voices over the animated shot, lock your colors and logo with brand kits, start from templates, or drive the whole thing through the API, CLI, or MCP, so a single still becomes a finished, on-brand video without bouncing between separate tools.
Conclusion
Image to video AI works best when it is tied to a strong source image, one clear motion, and a subject that survives the animation. AI can add movement cheaply, but it cannot decide which photo deserves motion or whether that motion keeps the image honest.
Use the steps in this guide as a filter: choose the right image, direct one purposeful motion, lock the faces and labels, scrub every frame for warping, and keep only the take that respects the original. That is how animating a photo becomes an upgrade instead of a distortion.
Can you animate a photo with AI for free? Yes. A free image to video generator plan like Vivideo's includes daily generations — enough to run a few takes of one image and keep the cleanest. Free renders carry a watermark; paid plans remove it and export in HD or 4K, which preserves the detail that makes an animated product shot or portrait usable.
If you want one place to animate a photo, layer a voice over it, lock it to your brand, and export it, you can do all of it in Vivideo at vivideo.ai.